imovie
We will be working with iMovie trailers. These are short and with a bit of creativity can be used very effectively by students and teachers.
A helpful tool is the storyboard. You can click here to download the Adrenaline storyboard which is from Timothy Jefferson's Blog
These are helpful in planning how many images you will need as well as the captions.
Once you know the number of images, watch the preview of the trailer on the iPad and see how it matches to the storyboard.
Map out your story on paper or annotate on your iPAD with a PDF annotator.
Create short videos to add to the trailer, or use images from the Internet or other sources.
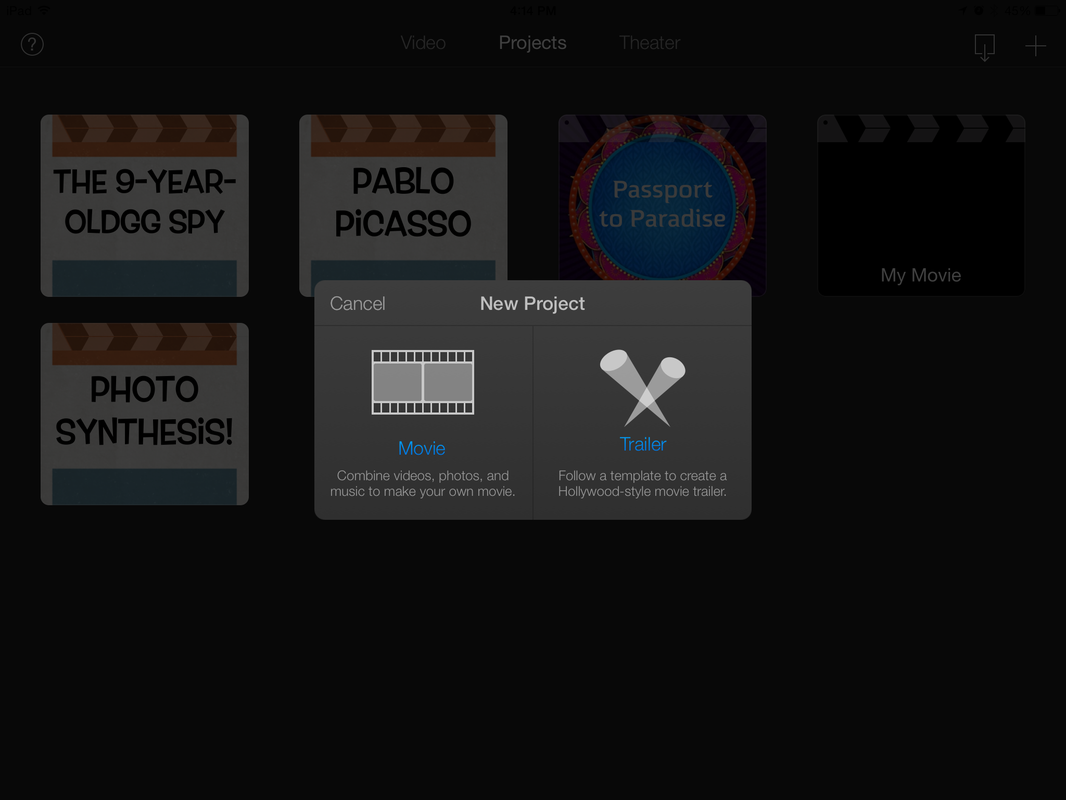
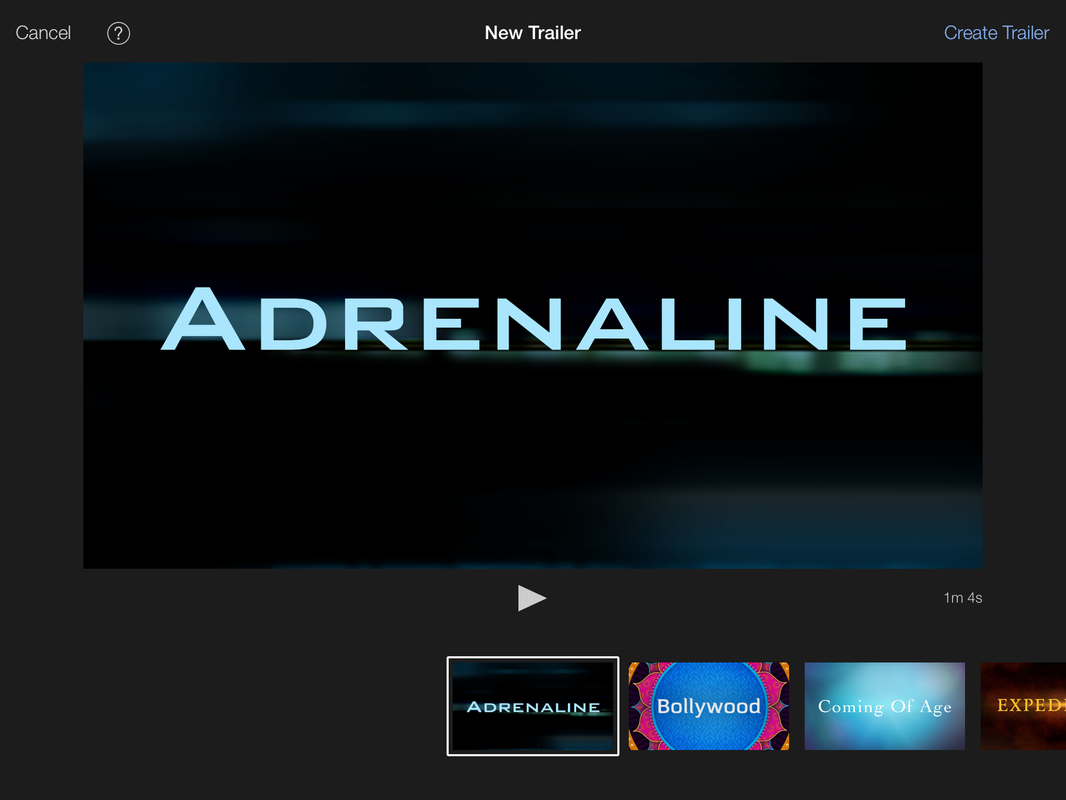
When you open iMovie press "Trailer". For this sample we are using the Adrenaline Trailer. Click on the Adrenaline Trailer then on "Create trailer" on the top right.
|
|
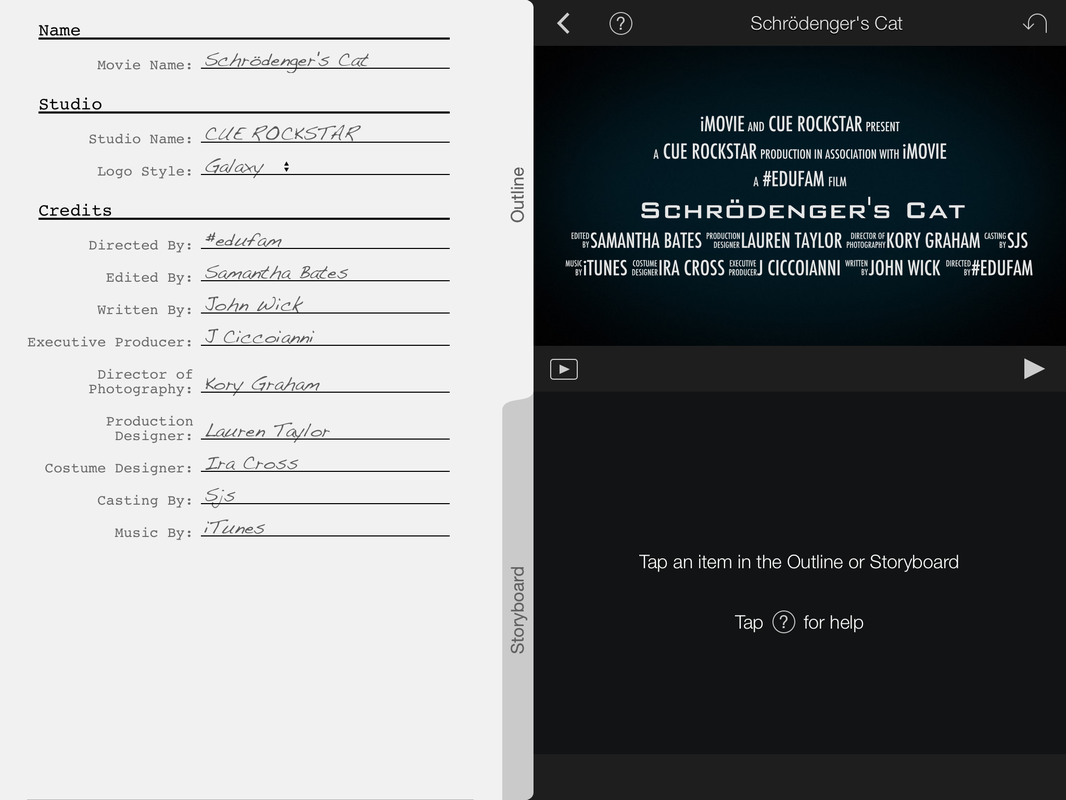
The outline allows you to edit the names and credits. Change this as you see fit. Clicking on the "Storyboard" tab will bring you to the main working area.
|
|
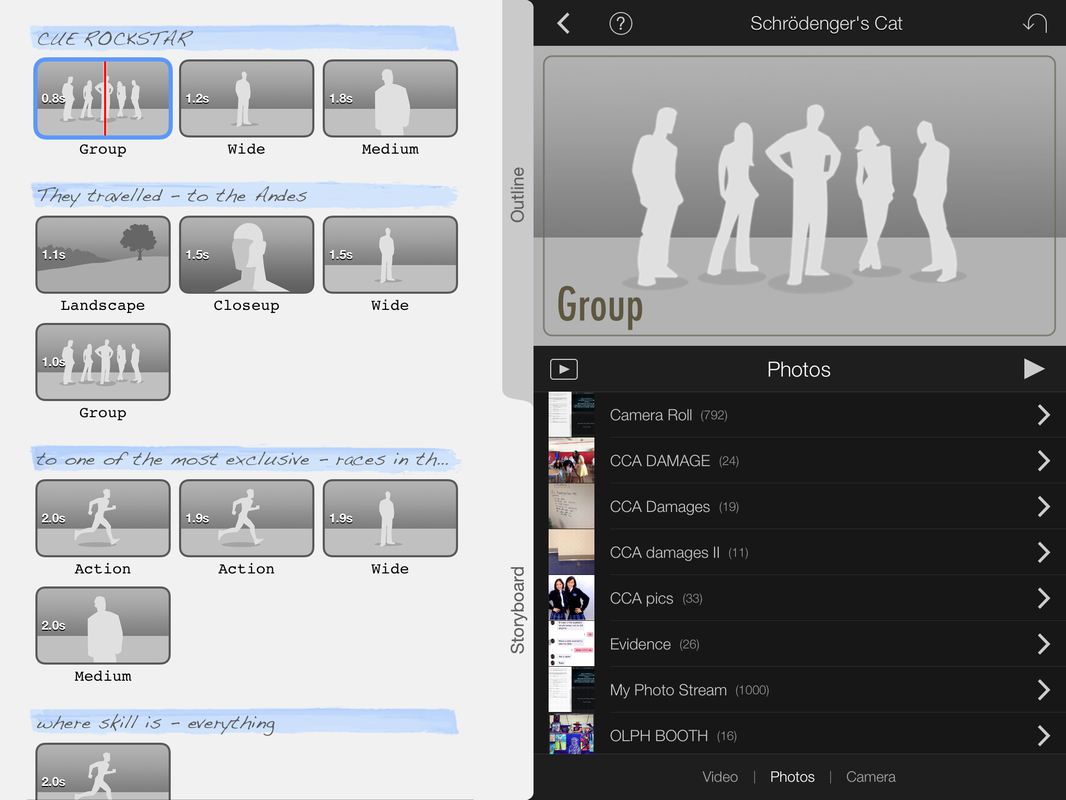
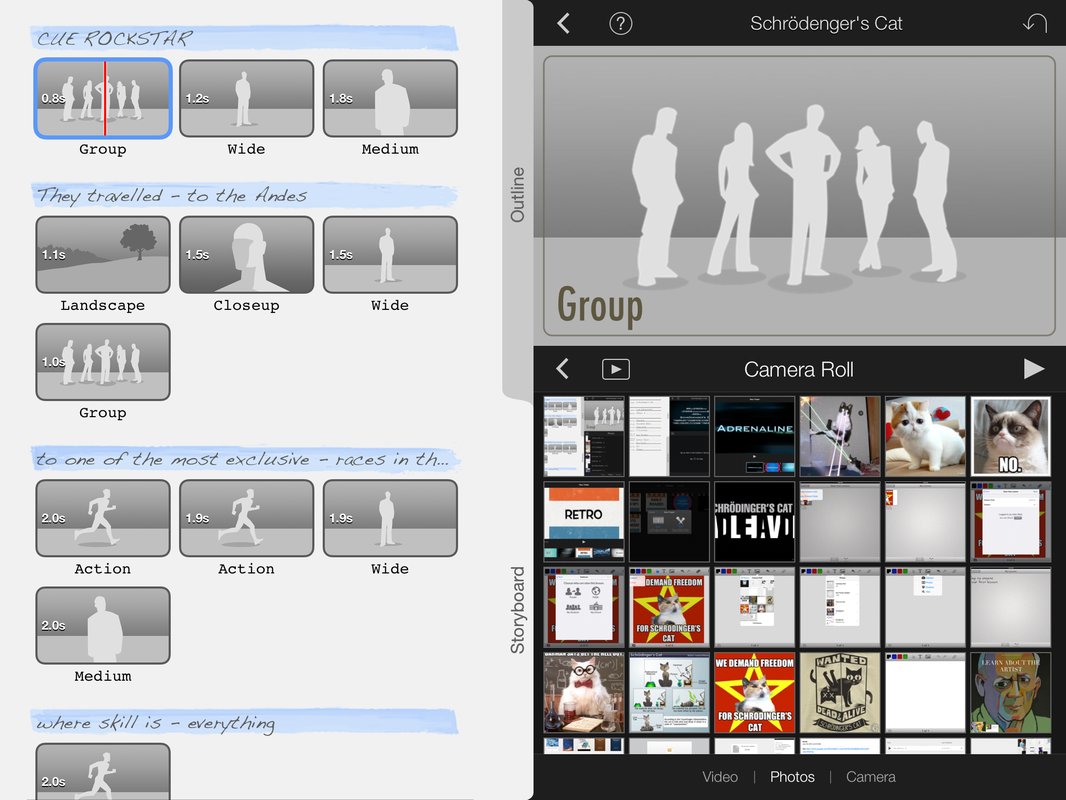
Click on the blue areas to change captions. Clicking on a silhouette image will allow you to select an image from your camera roll. When you do this it will advance. However you will want to do some more editing so click back on the image you just added in the storyboard to bring up some options.
|
|
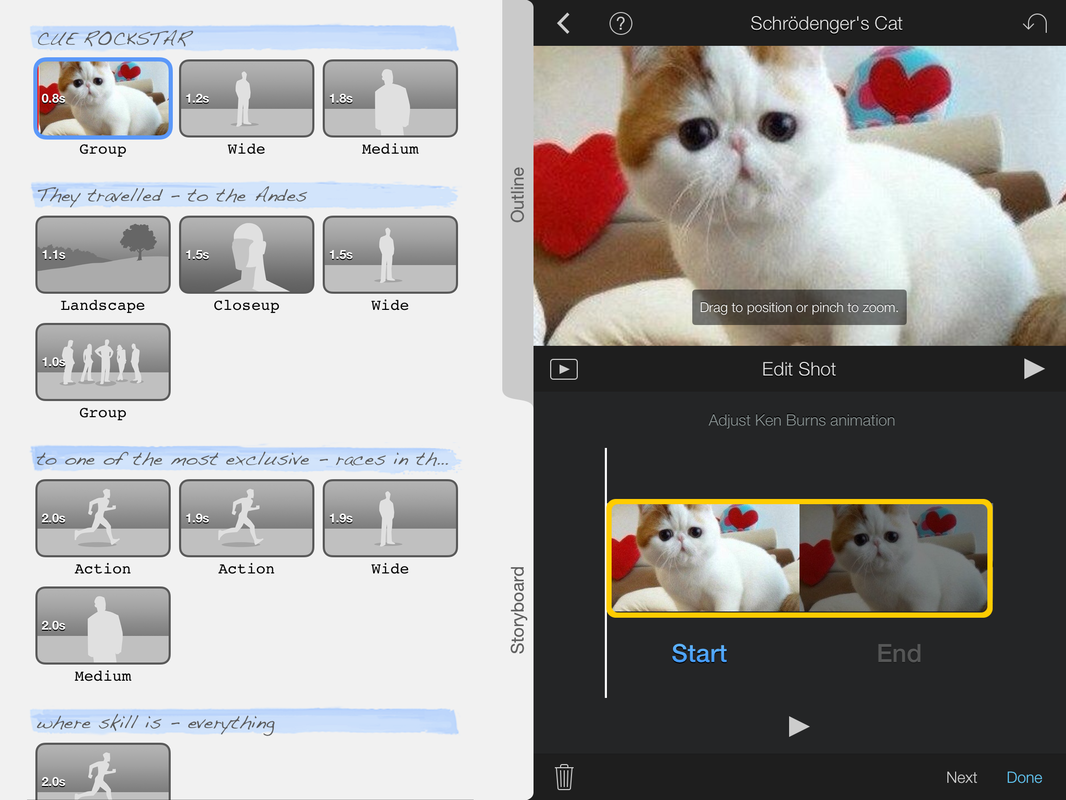
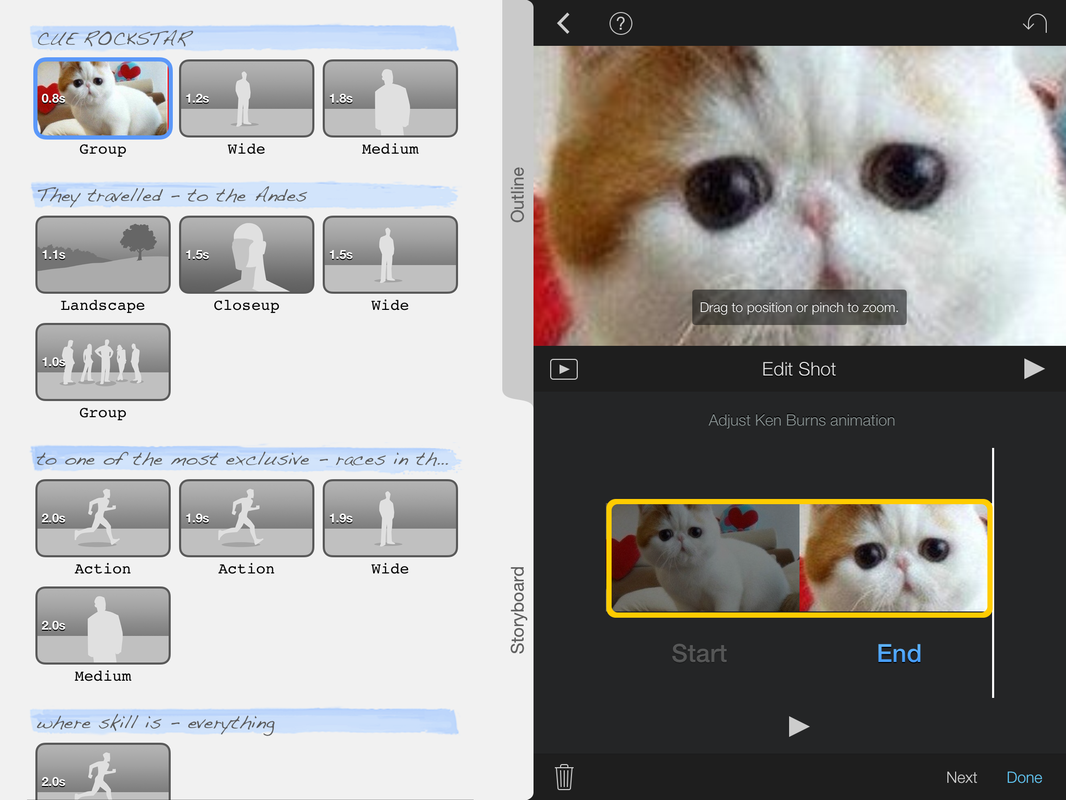
On the bottom right you can click the start or the end of the image display time. As you can see, here I clicked on the "End" section and blew up the picture of the cat by performing a reverse-pinch to the picture above. After this is completed, press "Done" on the bottom right. Continue this process for all other frames and captions. You can preview the video at any time by clicking on the small "play" button (the right facing arrow within the box) on the bottom left of the work screen.
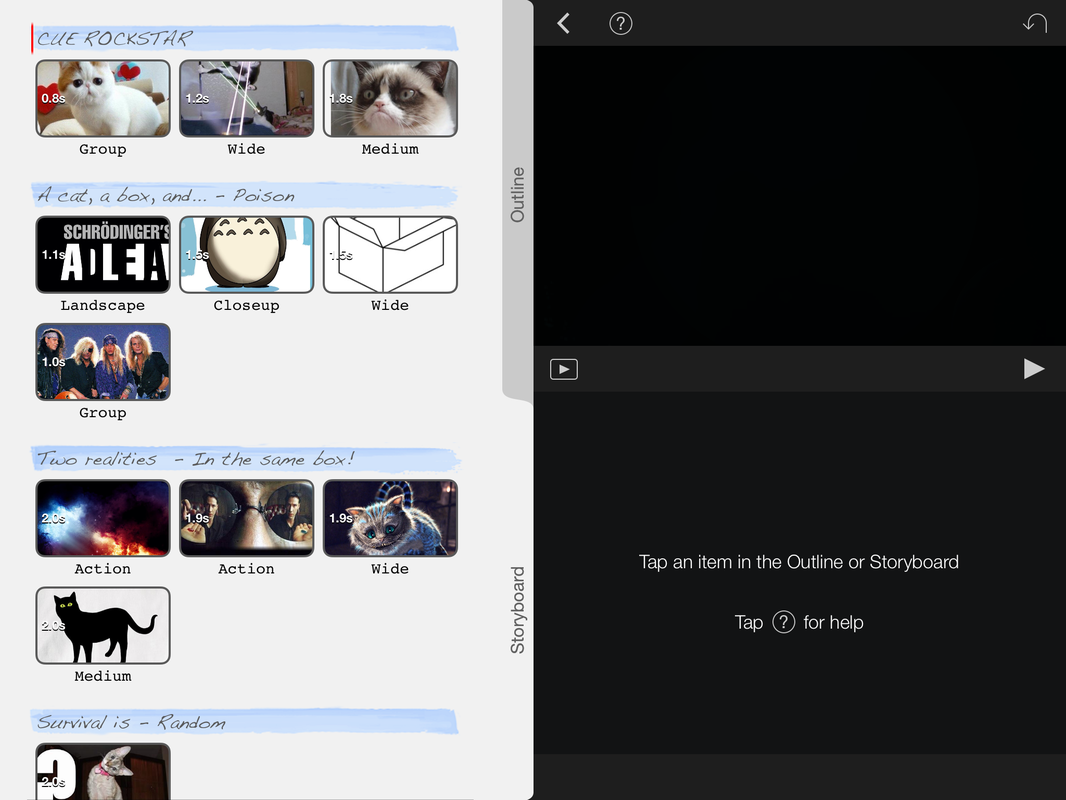
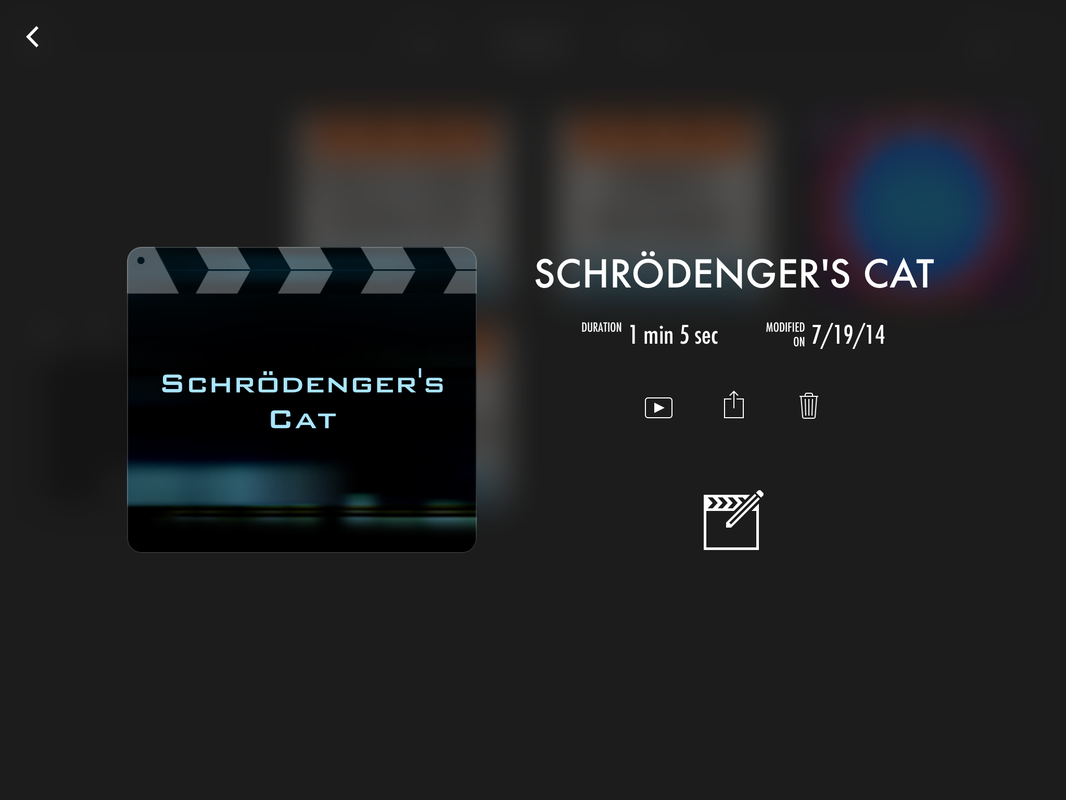
Once you are satisfied, press the Left facing Chevron at the top that is next to the question mark in the circle.
Once you are satisfied, press the Left facing Chevron at the top that is next to the question mark in the circle.
|
|
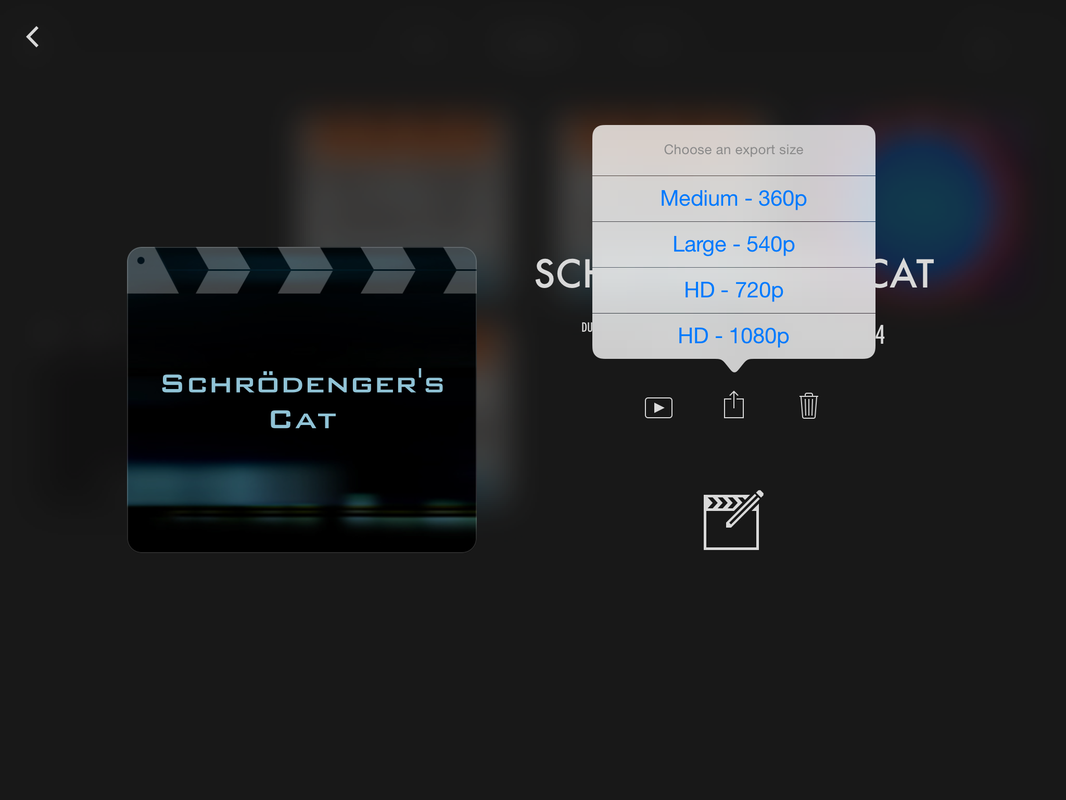
You will be given several options. Click on the middle square with the arrow pointing up. You can then save as "Medium" or any other size (I recommend medium for smaller file size). Your video is now stored to the cameral roll for your use and sharing.
|
|